Hi Tanglers...
I can't believe it's been so long since I last blogged... It's been a really tough 6 months i have lost two people really close to me and I want to appoligise I was going to keep this up and do it quiet regular but I'm so busy with my Nail business that I just haven't had the time... and I've been so emotionally tired in the evening that i'm going to bed quiet early.
So here I am today with the day off and I thought I would share the design I did earlier this year my
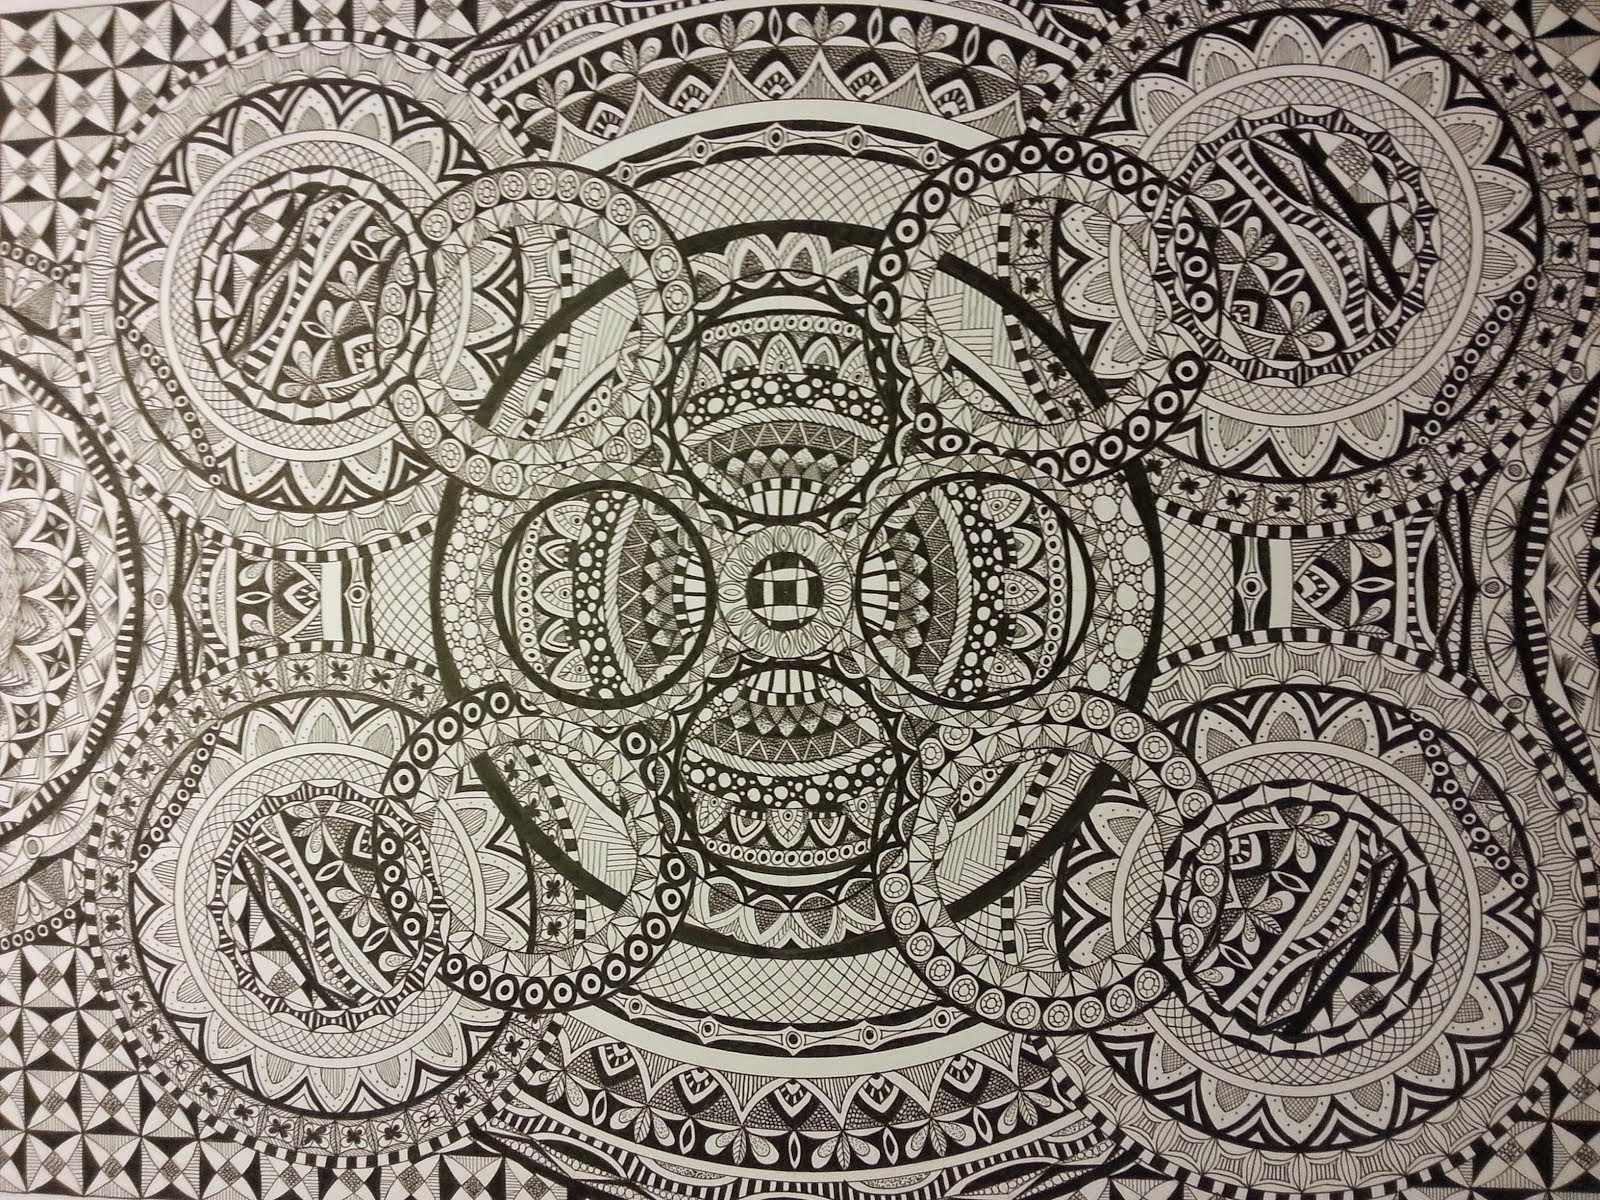
3D Mandala
I'm dedicating this post to my beautiful brother John who passed away at 49 just after Christmas..
It is a very sad time for me we were very close... So John this is for you because I know this is what you would want me to do.
I'm dedicating this post to my beautiful brother John who passed away at 49 just after Christmas..
It is a very sad time for me we were very close... So John this is for you because I know this is what you would want me to do.
This is a photo of the finished design...
this is no very clear but it's done the same as starting a Mandala..
Step 1.
. you need to make 3 or 4 of these ( lets call them "template")
making sure each of them has all the same markings
Step 2.
On the first Template on you are going to do the base design
Step 3.
On the second Template you can see I have only done the centre large star..
Fill in the pattern how ever you want it... before you cut out your pieces carefully
write in pencil T for top and B for bottom it will make it easier to line them up
Step 4.
On your third template we are working on the centre...
do you pattern and fill in the dark or medium pattern to you desire
Step 5.
Instead of wasting paper i have done this in the centre of this template
you can also start to cut things out roughly
Step 6.
Fill it in how ever you want it to look..
take your time do not rush you details
Step 7.
Cut it out using a craft knife very carefully
Step 8.
You need to black out the areas that you are going to layer
Step. 9
This is your finally piece the centre of the whole design
also cut out carefully...
Step 10.
When you finish all the details and cut them out you need to blacken the edges
Step 11.
have all you pieces cut and all the design filled in
and also all the edges done
Step 12.
Cut out a circle that is the desired size of the Mandala
Step 13...
You are ready now to put this 3D Mandala together
Step 14...
I used foam mounting tape to put these together
start from the bottom to the top
This is not as very good photo but it looks great in real life
Hey Tanglers
I hope you like this Idea...
if you decide to give it ago please share with me
So happy Tangling


